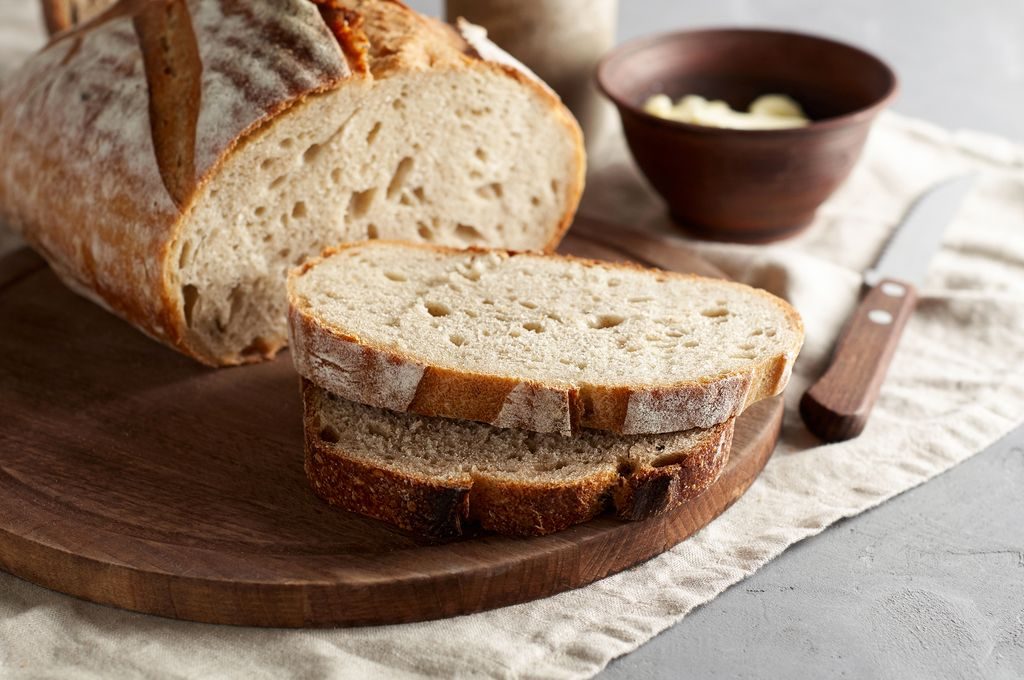
Sourdough Bread
Baking artisan-quality sourdough bread at home couldn’t be easier with this wonderfully simple recipe.
Baking artisan-quality sourdough bread at home couldn’t be easier with this wonderfully simple recipe.

Making sourdough bread is a journey, it begins with the simple combination of flour and water and ends with a magnificent loaf with that wonderful sourdough flavour. Not to mention a great sense of satisfaction and a house filled with that freshly baked smell!
A lot of people feel intimidated by bread making, especially sourdough, but they needn’t be! Humans have been baking bread themselves for thousands of years, all it takes is a little time and patience to master the art of sourdough baking.
Before you can make a sourdough loaf you first need to make a starter. The starter is the rising agent, a good starter is the key to a good sourdough loaf.
You can either knead it by hand or you can let your kitchen machine do the hard work for you. This will speed up the process but this is not a quick recipe, so its best to begin when time is on your side. Sourdough needs to be proved twice for about 3 hours at a time.
Learning how to make sourdough at home is a rewarding experience. You can’t compare a sourdough loaf to anything you can buy in a supermarket. Bread has gone from the simple combination of flour, water, a rising agent and a bit of salt to something that contains upwards of 30 ingredients! Making it yourself means you have more control over what you are eating and you aren’t consuming needless additives.
Healthwise sourdough is low on the glycemic index which can help keep your blood sugar down which is important if you want to prevent diabetes.
Perfect for sandwiches, toasting or simply enjoying it dipped in some extra virgin olive oil and balsamic vinegar.
Recipe suggestion: Sourdough starter
Add all the ingredients to a large mixing bowl and bring it together with your hands.
When the dough has roughly come together tip it out onto a clean surface and begin to knead. Kneading increases the elasticity and strength of the dough. use the heel of your hand to push the dough away and then pull it back towards you.
As you knead it the dough will change in texture, it will become smooth and silky. This is an indication that it is ready. To see if your dough is ready rub a little oil on your hands to prevent it from sticking, take the dough and hold it up to the light stretching it slightly. If it doesn't tear and you can see the light through it, it's ready. If it rips it needs to be kneaded for a little longer.
Once it has risen it needs to be knocked back. To do this tip it out onto a clean surface and try to flatten it with your hands then fold the dough in on itself to remove and large pockets of air.
Once the dough has been knocked back it needs to be shaped. Try to make the dough as round as possible. Take all the edges and pull them into the centre turning the dough as you go.
After you have turned in the edges, flip the dough over. Cup your hands around the dough and pull it towards yourself. You will find that it lifts up slightly, turn it 45 degrees and repeat until the dough surface is tight.
Dust your proofing basket with flour and set it aside.
When the dough has been shaped add it upsidedown to the proofing basket (or bowl) and cove with a tea towel. Leave it to proof again.
Preheat your oven to 230˚C and add a small baking tray to the bottom shelf, allowing it to heat up.
Once the dough has finished its second proofing turn it out onto a large baking tray.
Take a sharp knife or a razor and score your dough. Scoring isn't just for ascetics it allows your dough to rise better.
Add the dough to the middle of the oven. Before closing the oven door poor some hot water into the ovenproof dish that was preheating. This will create steam helping your dough to rise. Bake for 35 minutes or until the internal temperature is about 90˚c.
Leave to cool before cutting into it.